


News


September 2016 Digital Reflector Announcement has been sent
 Announcement of the September 2016 digital edition of the Reflector has been emailed to all members.
Several people have reported an error with the member affiliation in the greeting line. The error is in the software that sends out the announcements; the profile information is okay.
If you did not receive the announcement it is probably because:
- Your email service provider has marked email from the League as spam; to prevent this add support@astroleague.org to your email service contact list
- We do not have an email address for you
- The email address we have for you is not valid
If you did not receive a notice and you are a member of an affiliated club or a member-at-large, honorary or lifetime member send me an email to webmaster@astroleague.org .
Let me know the name of your local club name (or MAL) and first and last name and a current email and I’ll update your information.
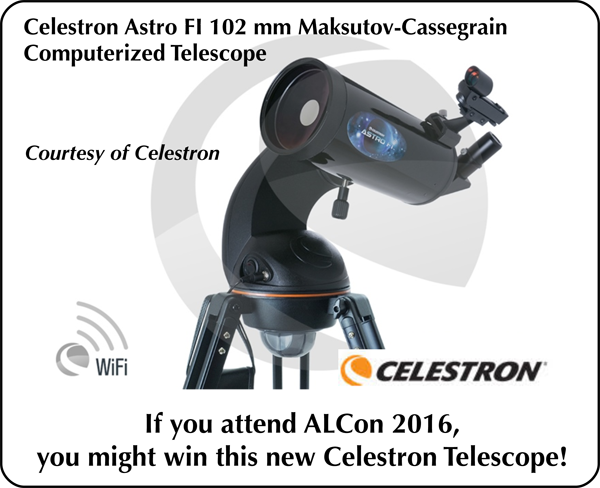
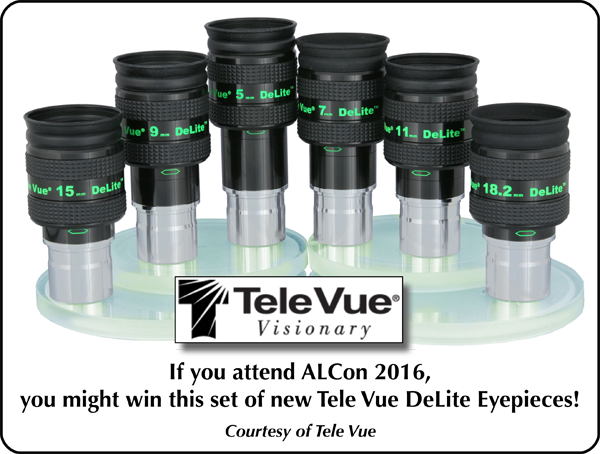
ALCon 2016 is Underway!
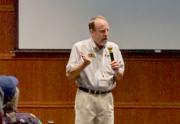
 John Goss, president, of the Astronomical League, thanks NOVAC volunteers for their work supporting the 2016 conference. John is looking forward to listening to wide variety of speakers in the next few days. ALCon conferences such as this one are an amazing value compared to conferences you may have attended while at work.
John said that there are a variety of reasons for attending a conference such as hearing the talks, going on great tours, etc.. But the primary reason is to meet others and discuss how they operate their clubs, what new techniques and equipment they are using, and how they perform public outreach. You probably know about the challenges in your own club but Astronomical League conferences provide the opportunity to learn from each other and hear how others handle various issues.


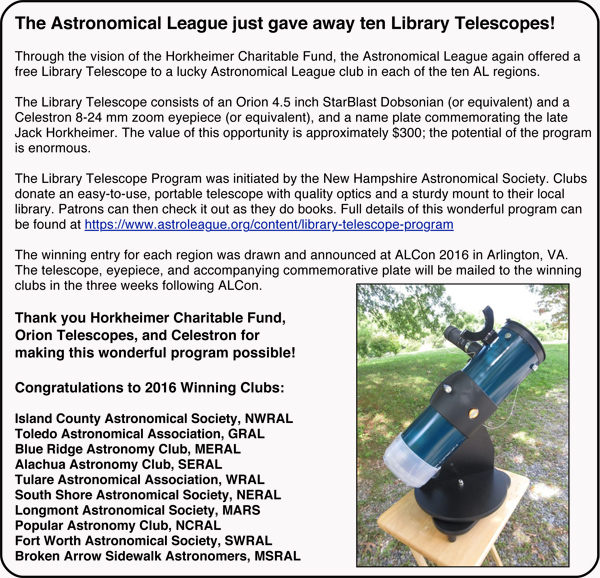
Horkheimer Library Telescope Reminder (2016)
Your Astronomical League is holding a drawing to give away ten Horkheimer Library Telescopes. To win, though, your club must first enter. Entries must be received by the deadline of July 30! For details of the program, please see the entry form and visit
This program is made possible by the vision and generosity of the Horkheimer Charitable Fund, Orion Telescopes, and Celestron.
Another reason to attend ALCon 2016
Yet another great reason to attend ALCon 2016 is what’s happening at the Smithsonian’s National Air and Space Museum, which is where one of the ALCon tours will boldly go.
http://blog.nasm.si.edu/behind-the-scenes/enterprise-model-on-display/
Open Cluster Program Adds Imaging (2016)
The Open Cluster Program now allows imaging and has been changed based on inputs from imagers. Check it out!
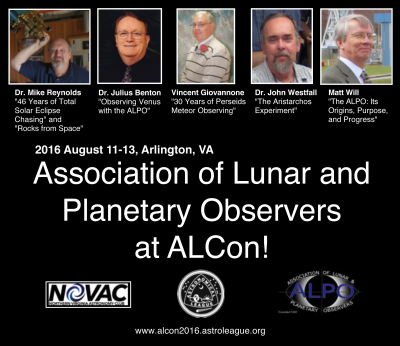

ALCON 2016 Washington DC – A CapitAL CONvention

August 10 through August 13 features the Astronomical League’s national convention coming to the NRECA Center in Arlington, VA. Hotel accommodations are available at the beautiful Westin Arlington Gateway (703-717-6200) and at the nearby equally attractive Hilton Arlington on the Metro Line (703-528-6000). Be sure to ask for the special ALCon rate.
Download a PDF of the promo to share with fellow members and friends.
